Enabling auditing is a simple process in Ignition. As long as you have a database connection already established (see How do I connect to a database?) all you have to do is merely create an audit profile in the Ignition Gateway.
Steps
| 1. | Navigate to the Configure > Security > Auditing section of the Gateway. |
| 2. | Select "Create new Audit Profile" and then click the "Next" button on the following window. |
| 3. | Configure your audit profile settings: |
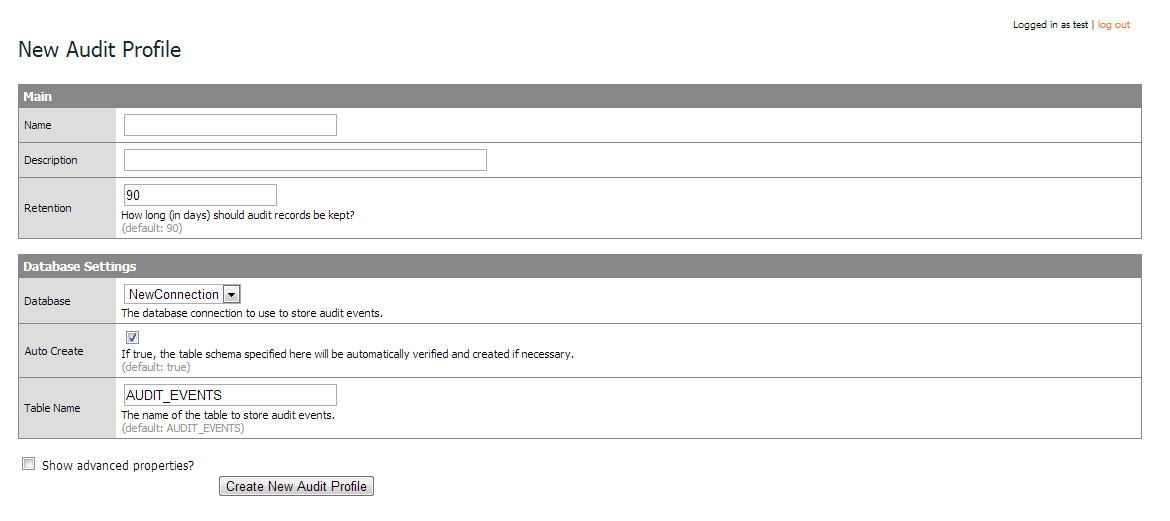
Name - A unique name for your profile
Description - An optional description for you profile
Retention - The number of days you want your auditing records to be kept
Database - The database connection in which you want the audit profile stored
Auto Create - Will create the database table necessary for the audit profile automatically. If not selected then you will have to create the table in the database manually with all of the necessary columns that are specified in the "Show advanced properties" section.
Table Name - The name of the table you want the audit records to be stored to
Show advanced properties - Enabling this will display a list of all the columns that are needed for the audit profile. You can change the names of the columns if you prefer.
| 4. | Click the "Create New Audit Profile" button |
If you enabled the "Auto Create" option your table may not appear in your database right away. The table is only created the first time it is needed and can't be found, so the first audit worthy action that occurs (e.g. logging in to a project) will cause the table to be created.